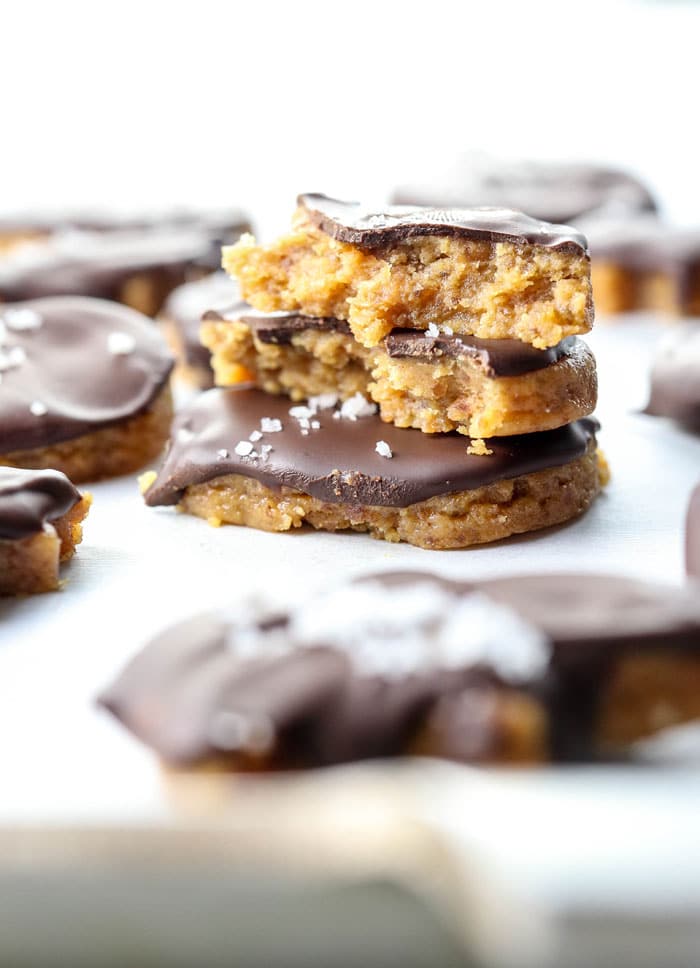
When Halloween candy hits the stores, I’m always tempted by Reese’s Peanut Butter Pumpkins. I love how the pumpkins have a thicker peanut butter layer, for a perfect ratio of salty peanut butter and sweet chocolate.
Of course, if you ask me, the store-bought version tastes a little too sweet, so I wanted to try to make a healthier version at home.
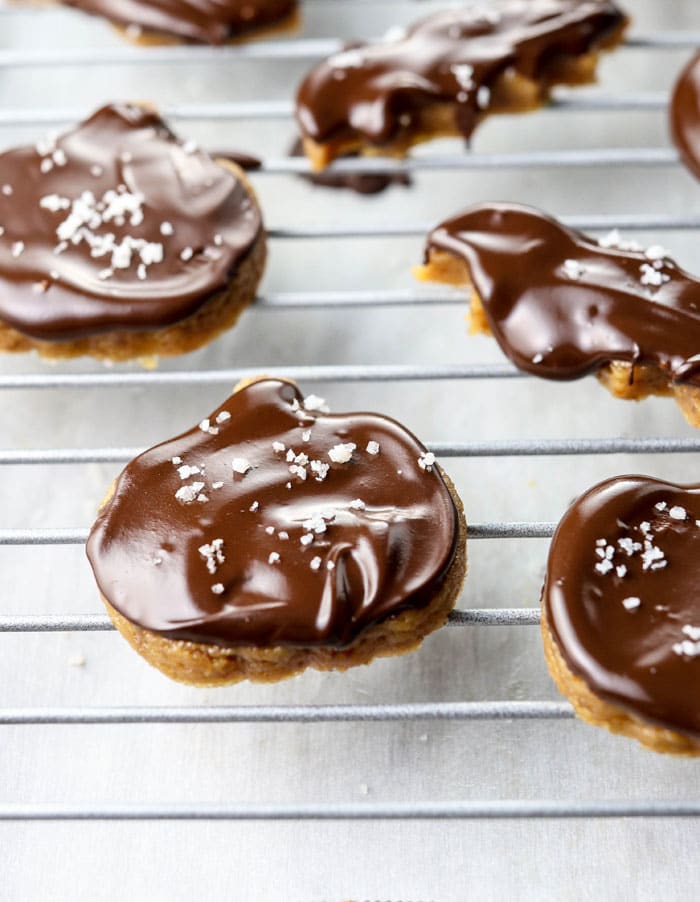
These homemade chocolate-covered peanut butter pumpkins are naturally sweetened with dates and take just minutes to prepare. They’ll help you quickly satisfy your sweet tooth, without a crazy sugar crash later.

I love making healthy desserts with dates because they are a great source of iron , which can help prevent anemia. They are also a good source of minerals like magnesium, manganese, and selenium, which are important for bone health.
You can make your own chocolate coating to keep these healthy Halloween treats naturally-sweetened, or for a faster preparation you can simply melt your favorite dark chocolate bar, instead.
Either way, this treat will be lower in sugar than store-bought peanut butter cups and I think they taste even better. (Especially with a sprinkling of coarse sea salt on top.) I hope you’ll enjoy them, too!
IngredientsUS CustomaryMetric1x2x3x
- 1/2 cup Medjool dates , pitted and tightly packed (4 ounces)
- 1/2 cup peanut butter
- 1 tablespoon ground flax seeds
- 1/8 teaspoon fine sea salt
- 1/2 cup dark chocolate chips (or homemade coating)
- coarse sea salt (optional; for topping)
Instructions
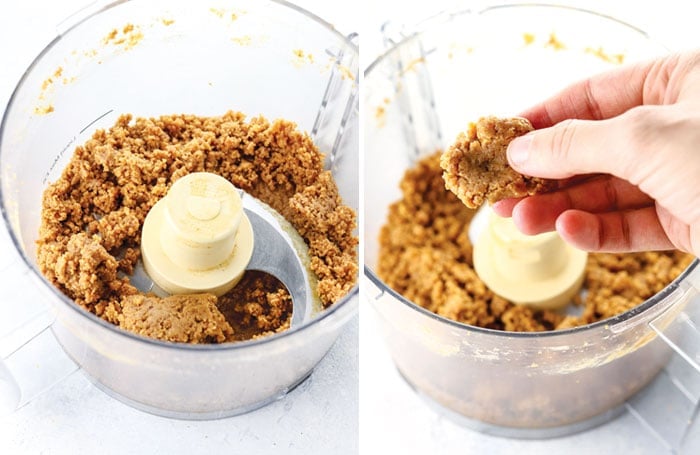
- Place the pitted dates in a food processor fitted with an “S” blade and process until broken down into smaller pieces. (You can use a mini vegetable chopper for this, too.)
- Add in the peanut butter, flax, and salt, and process again until a relatively smooth and sticky batter is formed. It should be easy to press together with your fingers, without crumbling. If the batter is too dry, add a teaspoon of water, and if the batter is too moist, add another tablespoon of ground flax and process again until easily moldable.
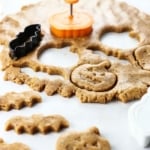
- Transfer the batter to a large baking sheet lined with parchment paper and use your hands to press it out into 1/2-inch thickness. (You can use a rolling pin if you want to, but it’s not necessary.)
- Press your favorite cookie cutter shapes into the dough, making 20 or more pieces. (You’ll have to re-press out the dough several times as you run out of room for your cookie cutters.)
- Arrange the cut-out shapes on the lined pan and place it in the freezer to help them firm up as you make the chocolate coating.
- Make a homemade chocolate coating, or simply melt the 1/2 cup of dark chocolate chips in a double boiler until smooth.
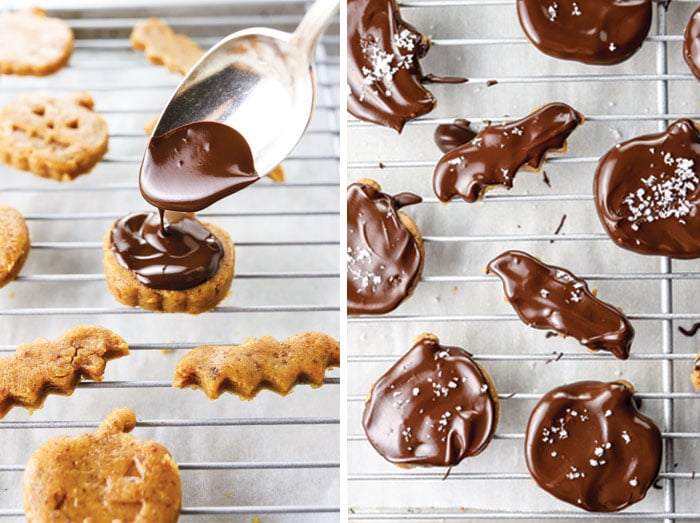
- Remove the cut-out shapes from the freezer and quickly drizzle the chocolate coating over the top of each one. You can place the shapes on a wire rack if you want the excess chocolate to drip off of them, or you can simply do it directly on the pan. I only coat one side of each piece, because I think that’s a good chocolate-to-peanut butter ratio, but feel free to do the second side, too.
- If you’d like to add a sprinkle of sea salt, do it right away while the chocolate is still melted. Then transfer the coated peanut butter shapes to the freezer to set, about 10 more minutes.
- You can eat these right away, or store them in an airtight container in the fridge until ready to eat. They should last in the fridge for up to 2 weeks, but I wouldn’t know for sure because we always eat them before that!
Nutrition
Per piece: Calories: 74, Carbohydrates: 6, Protein: 2, Fat: 4
Recipe Notes:
- You can use any nut butter you like in this recipe, just keep in mind that it will change the flavor. Almond butter, cashew butter, sunflower butter, or tahini should all work just fine. I used a drippy, all-natural peanut butter for this recipe, so I recommend using a nut or seed butter with a similar consistency for similar results.
- Depending on the cookie cutter you use, you could make more or less than 20 pieces. I had a small bat-shaped cookie cutter that would have probably made closer to 40-50 pieces! This is the cookie stamp set I used to make the pumpkins and ghosts.
- For a dairy-free and soy-free chocolate coating, I like to use Enjoy Life Dark Chocolate Chips or Eating Evolved Chocolate Bars if you’re going the store-bought route.
- Use this recipe for a homemade chocolate coating.
- Need a date-free option? Try my Healthier Peanut Butter Eggs recipe.
—
Reader Feedback : What’s your favorite Halloween candy?
Save Save
Save Save
Save Save
Chocolate Peanut Butter Pumpkins
Ingredients
- 1/2 cup Medjool dates , pitted and tightly packed (4 ounces)
- 1/2 cup peanut butter
- 1 tablespoon ground flax seeds
- 1/8 teaspoon fine sea salt
- 1/2 cup dark chocolate chips (or homemade coating)
- coarse sea salt (optional; for topping)
Instructions
- Place the pitted dates in a food processor fitted with an “S” blade and process until broken down into smaller pieces. (You can use a mini vegetable chopper for this, too.)
- Add in the peanut butter, flax, and salt, and process again until a relatively smooth and sticky batter is formed. It should be easy to press together with your fingers, without crumbling. If the batter is too dry, add a teaspoon of water, and if the batter is too moist, add another tablespoon of ground flax and process again until easily moldable.
- Transfer the batter to a large baking sheet lined with parchment paper and use your hands to press it out into 1/2-inch thickness. (You can use a rolling pin if you want to, but it’s not necessary.)
- Press your favorite cookie cutter shapes into the dough, making 20 or more pieces. (You’ll have to re-press out the dough several times as you run out of room for your cookie cutters.)
- Arrange the cut-out shapes on the lined pan and place it in the freezer to help them firm up as you make the chocolate coating.
- Make a homemade chocolate coating, or simply melt the 1/2 cup of dark chocolate chips in a double boiler until smooth.
- Remove the cut-out shapes from the freezer and quickly drizzle the chocolate coating over the top of each one. You can place the shapes on a wire rack if you want the excess chocolate to drip off of them, or you can simply do it directly on the pan. I only coat one side of each piece, because I think that’s a good chocolate-to-peanut butter ratio, but feel free to do the second side, too.
- If you’d like to add a sprinkle of sea salt, do it right away while the chocolate is still melted. Then transfer the coated peanut butter shapes to the freezer to set, about 10 more minutes.
- You can eat these right away, or store them in an airtight container in the fridge until ready to eat. They should last in the fridge for up to 2 weeks, but I wouldn’t know for sure because we always eat them before that!
